Teleprompters are an essential piece of equipment for many television broadcasts across the world. Whether you are broadcasting a church service or a news segment, teleprompters are a key part of making sure the show flows smoothly. If you’re looking for a new teleprompter to use during your broadcast, it can seem like a stressful search. However, the solution is simple and may very well be right under your nose—iPads.
These tablets that your kids might use to play Minecraft or watch Peppa Pig episodes every morning can be transformed into an incredibly helpful production asset. Keep scrolling to learn how to use an iPad as a teleprompter for your broadcast. I can assure you, it’s way easier than you might think. If you can download an app on your iPad, then you can turn it into a teleprompter with just as much ease.
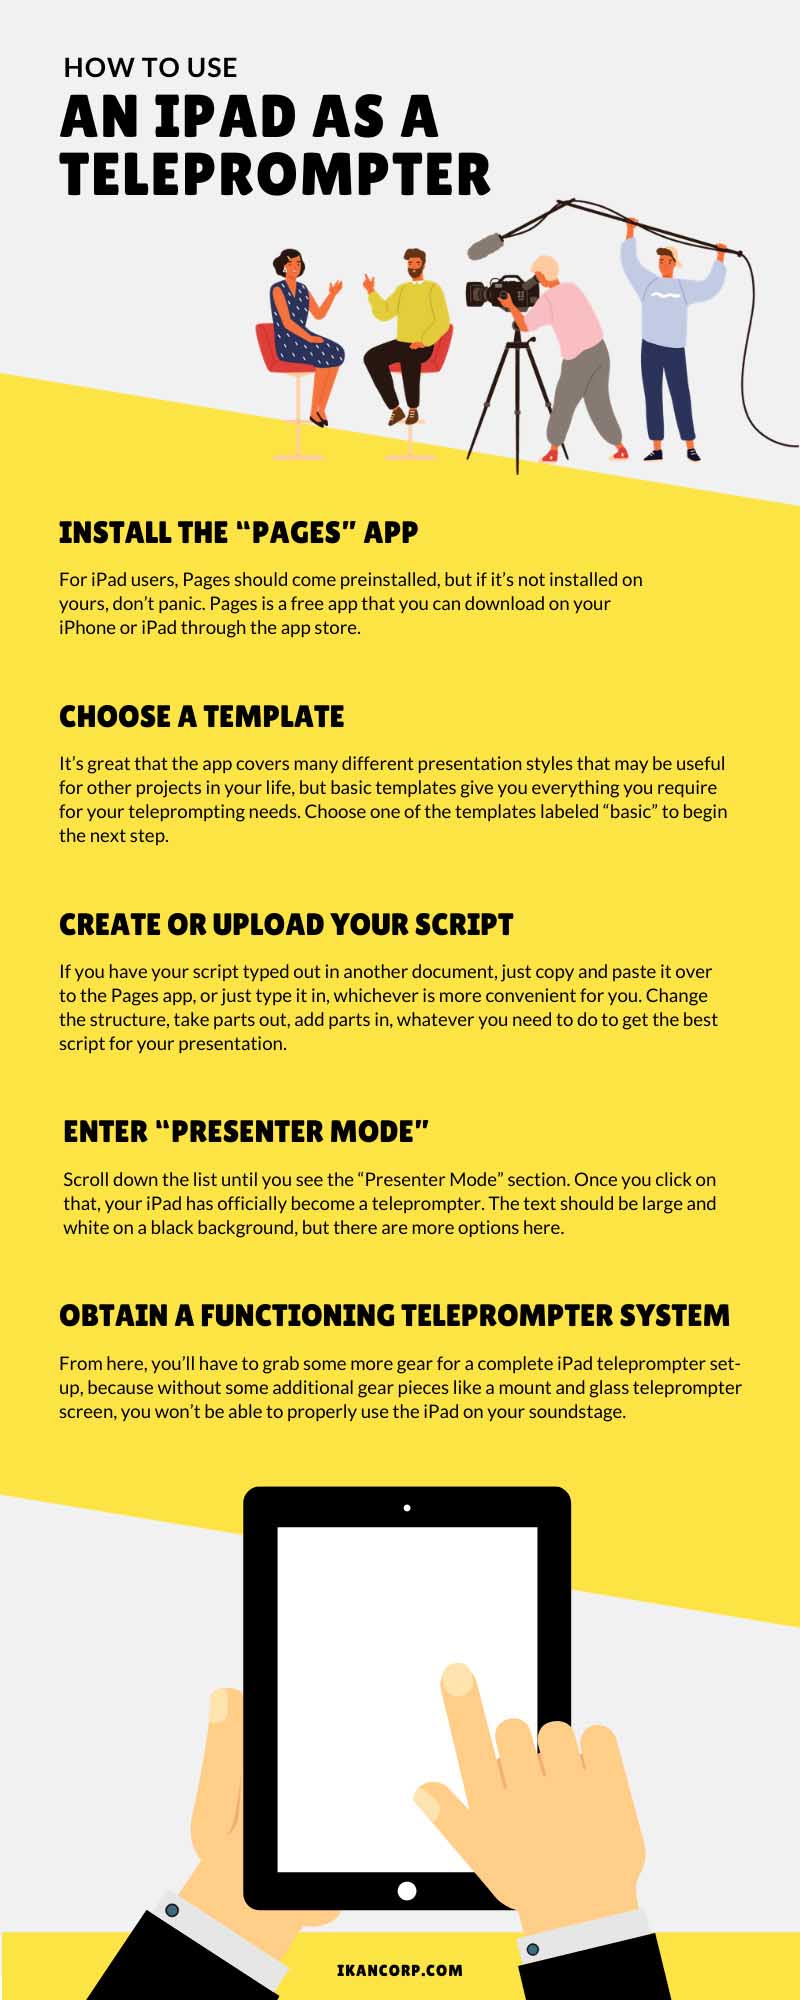
Install the “Pages” App
First and foremost, you have to find the right app for your teleprompting needs. Luckily, the right app comes in the form of a nifty app called Pages. For iPad users, Pages should come preinstalled, but if it’s not installed on yours, don’t panic. Pages is a free app that you can download on your iPhone or iPad through the app store. There are other more expensive apps you can use, but given that Pages is often preinstalled or otherwise free of charge, there’s no reason to look further than this helpful, versatile app. Once you’ve installed and launched the app, you’re ready to choose a template.
Choose a Template
Once you have the app fired up and ready to go, start a new document. To do this, hit the “+” symbol located at the top right of the screen. This will prompt a list of templates for you to choose from. There is a large variety of templates but for this project, such as templates optimized for books, résumés, letters, newsletters, posters, flyers, business cards, and even certificates. Obviously, none of these really apply to the function we’re using the app for today. So just choose one of the templates labeled “basic” to begin the next step.
You can play around with other templates, but as they are optimized for different presentations than the one we’re talking about today. For the sake of this guide, we’ll just be focusing on the simple, basic templates. Once you become more familiar with Pages, you can have some fun with different template styles for your production. It’s great that the app covers many different presentation styles that may be useful for other projects in your life, but basic templates give you everything you require for your teleprompting needs. That being said, if you want to get creative, this app gives you the tools to do so, and then the possibilities are endless. After choosing a template, it’s time to plug in your script.
Create or Upload Your Script
Now that you have your template chosen, you can fill it in with the information you need. Whether you’re plugging in some talking points or an entire script, you can do so with ease in the template. If you have your script typed out in another document, just copy and paste it over to the Pages app, or just type it in, whichever is more convenient for you. After putting your script into the template, you can play around with it however you’d like. Change the structure, take parts out, add parts in, whatever you need to do to get the best script for your presentation. Now that you’ve got your text plugged in, you can finally take the final step toward turning your iPad into a teleprompter.
Enter “Presenter Mode”
When you’re on the template, you should see three dots at the top right corner of the screen. Your next step is to click this symbol, which will reveal a list of different tools, such as a word counter, ruler, and even some advanced tools. You can make annotations, alter the text tracking, and share/export/print your text, if you’d like. While those are all helpful tools, we won’t get into the nitty-gritty with those today. Scroll down the list until you see the “Presenter Mode” section. Once you click on that, your iPad has officially become a teleprompter. The text should be large and white on a black background, but there are more options here. At the top right-hand corner of the screen, you’ll see an “Aa” symbol. By clicking on that, you can play with certain things like character size, font type, background color, auto-scroll, and other useful text tools.
Obtain a Functioning Teleprompter System
From here, you’ll have to grab some more gear for a complete iPad teleprompter set-up, because without some additional gear pieces like a mount and glass teleprompter screen, you won’t be able to properly use the iPad on your soundstage. That being said, at this stage, the process of getting the teleprompter functions on your iPad is complete. Most of you may already own a system, so you won’t have to worry about this step. If do you already own one, you may not have one optimized for tablets. Luckily, Ikan has all your necessary iPad teleprompter gear in one place.
Even if you already own a functioning teleprompter system, it’s helpful to know this information in case anything goes wrong. If you’re in the middle of a broadcast and the teleprompter breaks down, turning your iPad into a teleprompter is an easy, quick solution to the issue. That’s why the Pages app is the one to go with; it’s very easy to understand and use. Now that you know how to use an iPad as a teleprompter, you’re ready to put that knowledge to the test. The next time you put on a broadcast, you’ll see how seamlessly your everyday iPad can be transformed into an incredible tool for production. Additionally, once you play around with those extra features in Pages, you can find some creative ways to enhance your presentations as you see fit.