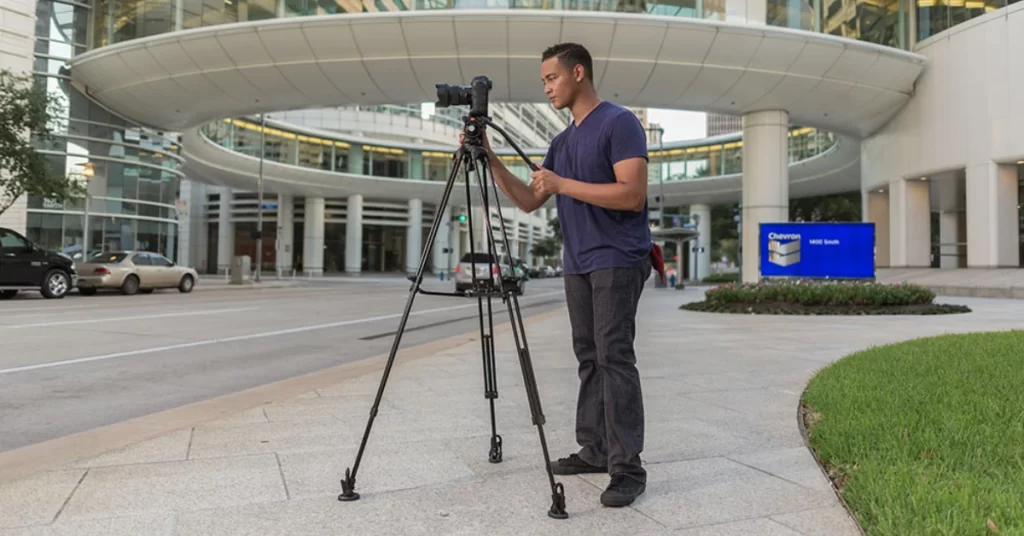
Professional-quality footage demands rock-solid stability, and while tripods are essential tools for achieving this, they’re just the beginning. Simply mounting your camera isn’t enough-you need proper technique to maximize your tripod’s potential. From basic setups to complex movements, this guide provides the essential tips you need to capture broadcast-quality shots for any production.

Understanding Tripod Fundamentals
Professional tripod shots form the backbone of quality video production. While tripods are ideal for most situations, knowing when to use a pedestal instead can help you achieve specific camera movements and heights. Mastering these fundamentals will ensure your footage meets broadcast standards:
Stable Framing
Rock-solid stability ensures professional composition. During static shots, your frame must remain perfectly still without any drift or unwanted movement. When executing planned movements, each motion should be deliberate and precisely controlled. Proper tension settings on your tripod head help maintain this stability, allowing you to achieve perfect frame alignment throughout your shot.
Consistent Motion
Smooth camera movement distinguishes professional from amateur footage. Start every movement gradually, allowing your camera to build to the desired speed naturally. As you pan or tilt, maintain a uniform pace that feels intentional rather than hurried. End each movement with a gentle deceleration rather than an abrupt stop. The fluid head’s resistance becomes your ally in controlling these motions, helping create that polished look viewers expect from professional productions.
Vibration Control
Modern high-resolution cameras make even minor vibrations glaringly obvious in your footage. Before shooting, ensure all tripod joints and locks are secure. Set appropriate counterbalance for your camera’s weight and verify your tripod rests on a stable surface. Environmental factors like wind can introduce unwanted movement, so regular monitoring during shoots is essential. Remember, proper dampening techniques help eliminate these subtle disturbances that could otherwise compromise your shot quality.
3 Essential Tips for Smooth Tripod Shots
1. Use Fluid Head Tripods
Fluid head tripods utilize a pan and tilt functionality with excellent smoothness because of the fluid chamber from which they get their name. The fluid provides resistance to the camera motions to generate smoother, less erratic movement. This ability to dampen movement makes fluid head tripods a must-have for professional productions where avoiding vibrations in-frame is critical.
Professional fluid heads offer precision through multiple counterbalance settings, adjustable drag control, and built-in bubble levels for perfect alignment.
2. Approach Inclines Carefully
While placing tripods on flat surfaces is ideal, sometimes you’ll need to shoot on an incline. Position the tripod with two legs stretched forwards when shooting on slopes. This technique helps maintain better balance and stability for your camera.
For successful incline shots:
- Adjust leg lengths individually for proper leveling
- Use leg spreaders for additional stability
- Monitor bubble level constantly
- Verify all locks are secure
3. Fully Extend the Legs
One of the most overlooked aspects of tripod stability is proper leg extension. This doesn’t refer to height adjustment, but rather how far apart the legs are spread. Before filming, ensure you’ve spread the tripod legs to their maximum width to create the most stable base possible.
Common Mistakes to Avoid
Even experienced videographers can fall into common tripod pitfalls that compromise shot quality. Understanding these mistakes helps you prevent them, ensuring consistently professional results. Here are the critical errors to watch out for:
Incomplete Leg Spread
Not extending tripod legs to their maximum width creates an unstable base. Always ensure legs are fully spread and locked securely in place before mounting your camera, especially on uneven terrain.
Unbalanced Camera Mounting
Improper camera balance on the mounting plate causes unwanted tilting and strain on the fluid head. Center your camera’s weight over the tripod head and double-check all mounting screws are tight.
Rushed Pan and Tilt Movements
Quick, jerky movements ruin smooth shots. Practice controlled movements at consistent speeds, always starting slow, maintaining pace, and gradually stopping. Use the fluid head’s tension controls to assist with smooth motion.
Poor Weight Distribution
Uneven weight distribution stresses your tripod and creates instability. Keep your camera’s center of gravity aligned with the tripod’s center column, and avoid hanging heavy accessories on one side of the camera.
Elevate Your Production with Professional Tripods
Ready to achieve perfectly smooth shots? Ikan’s professional-grade tripods deliver the stability and precision your productions demand. Our collection includes fluid head tripods for smooth camera movements, versatile options for studio and field work, and complete tripod systems designed for professional videography.
Take your production quality to the next level with Ikan’s professional tripod collection.
Shop Ikan’s Professional Tripods Today
Frequently Asked Questions about Tripod Shots
Achieve smooth shots by using a fluid head tripod, practicing controlled movements, ensuring proper leg spread, and maintaining balanced camera mounting.
A fluid head tripod contains a special chamber filled with fluid that provides resistance during camera movements, resulting in smoother pans and tilts for professional-quality footage.
On uneven ground, position two tripod legs forward, adjust individual leg lengths for leveling, use spreaders for stability, and constantly monitor the bubble level.
For video, fluid head tripods are best as they provide smooth pan and tilt movements, stability control, and vibration dampening essential for professional footage.
Balance your camera by centering its weight over the tripod head, ensuring all mounting screws are tight, and maintaining even weight distribution without heavy accessories on one side.
